
To make a beautiful crocheted pouf with a star stitch pattern you will need:
Berry cord 3 mm – about 5.5 skeins
an 8 mm crochet hook
scissors
For the inner bag with filling you will need:
fabric
hollow fibre or polystyrene beads – 40-50 litres
a zip
scissors
thread
a needle or a sewing machine
Tip: you can find a ready-made pouf bag here
Instructions (US terms: sc = single crochet, hdc = half double crochet, ch = chain, sl st = slip stitch):
1) TOP OF THE POUF

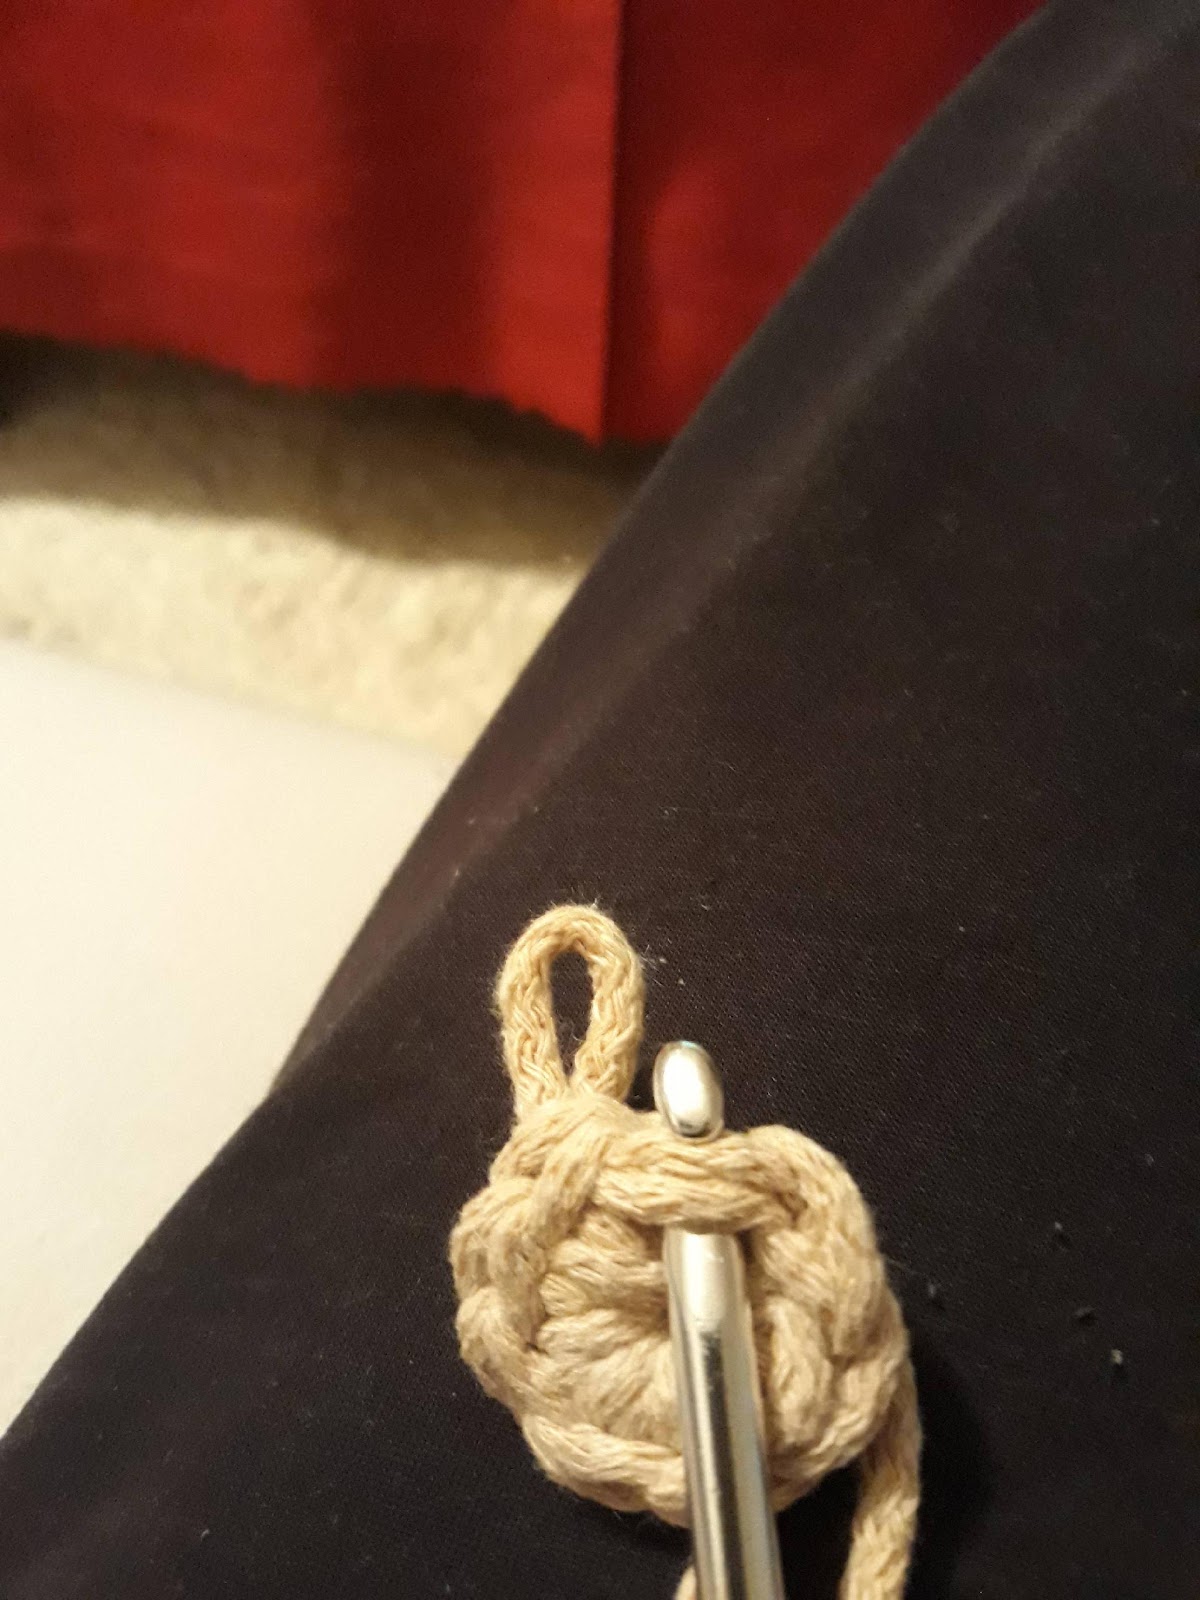

Work 7 sc into a magic ring and join with a sl st.

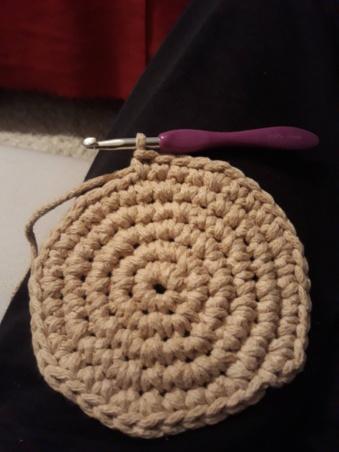
In the second round, double every single crochet (2 sc in each stitch).

In the third round double every second sc, in the fourth round every third.

Continue with the system 11112, 111112, and so on until the base of the pouf is the size you need.
Be careful not to put the increases directly above each other, otherwise the circle would turn into a polygon.
2) SIDES
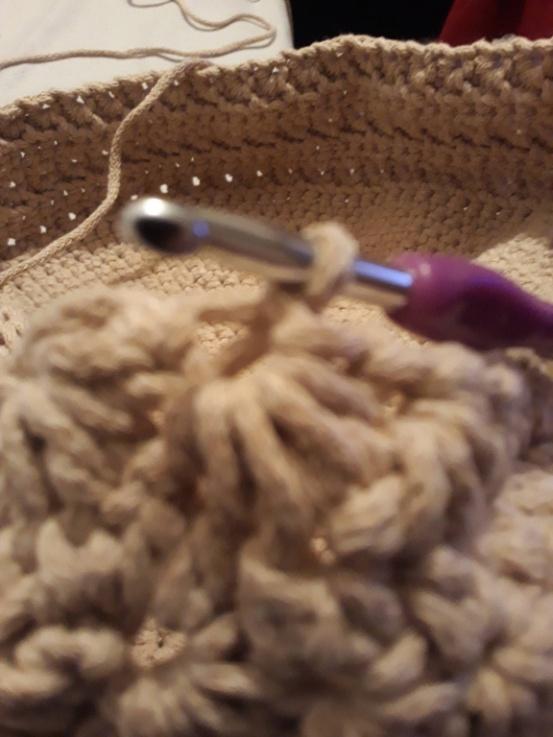
Chain 3, then insert the hook into the second chain from the hook and pull up a loop, leave it on the hook, insert into the first chain and pull up a loop, then into the stitch of the previous row and pull up a loop, and repeat into the first and second sc, yarn over and pull through all six loops at once, yarn over and pull through
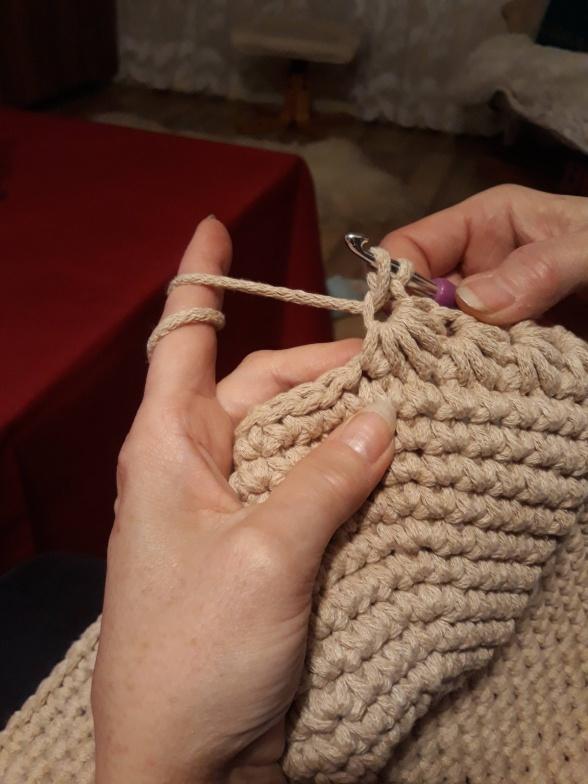
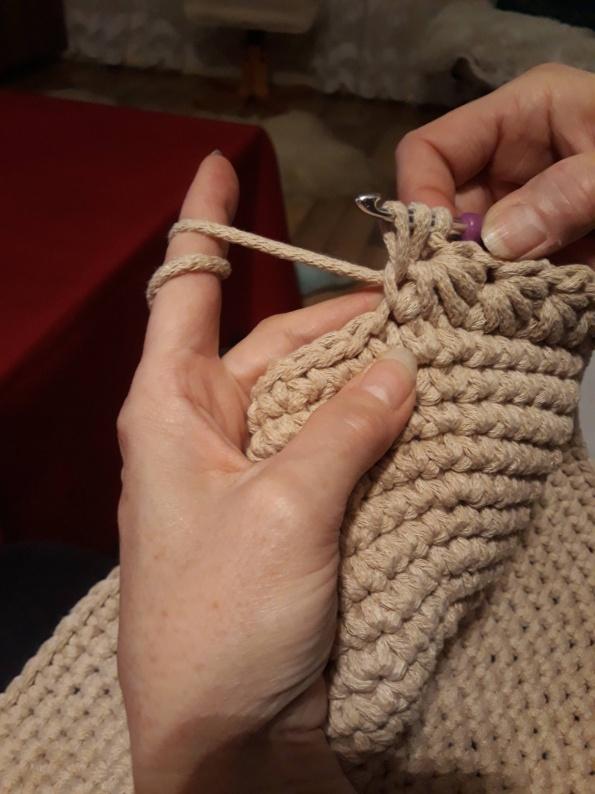


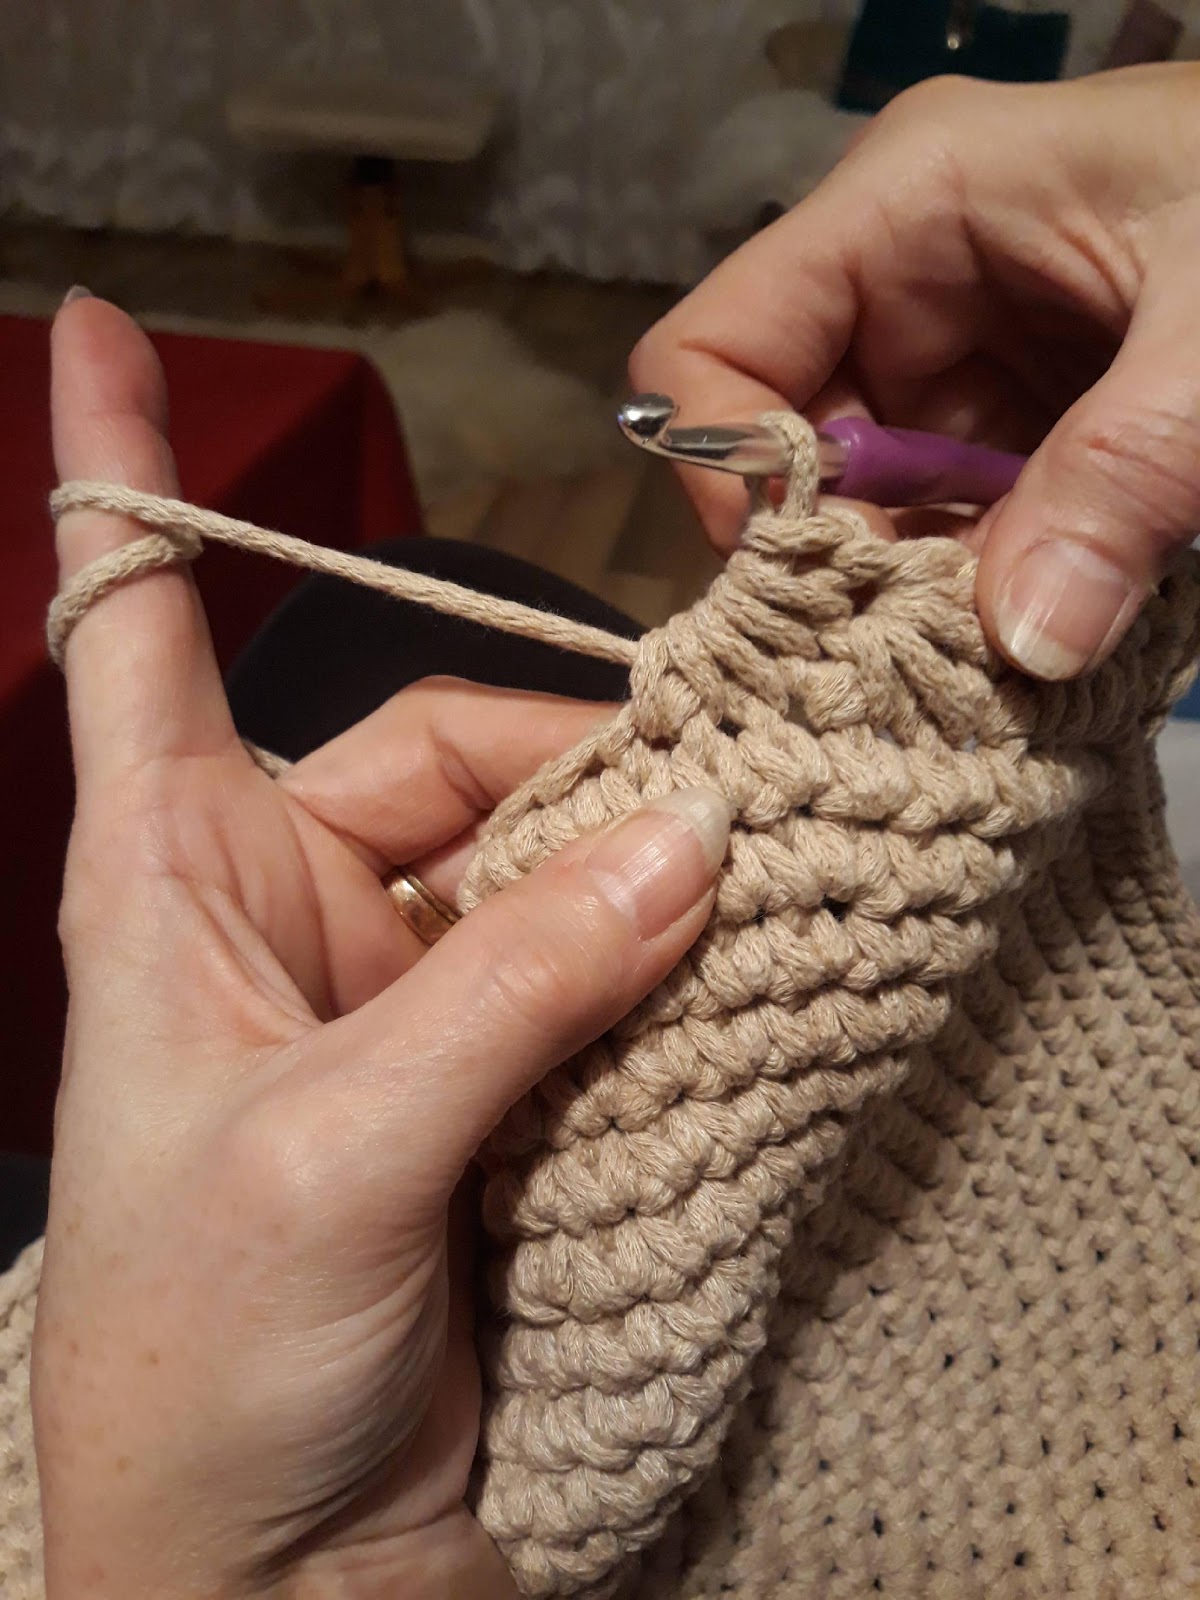

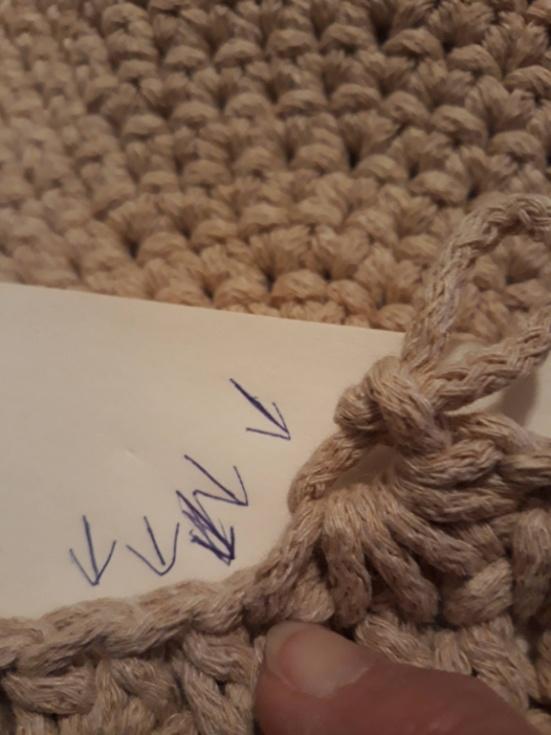
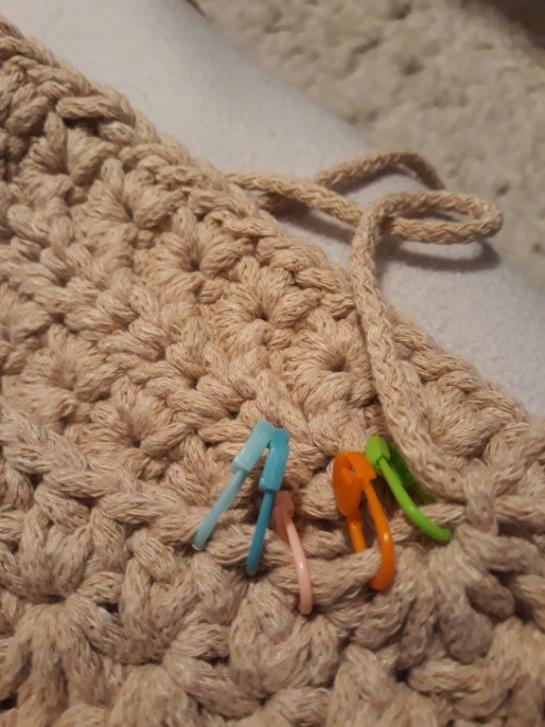
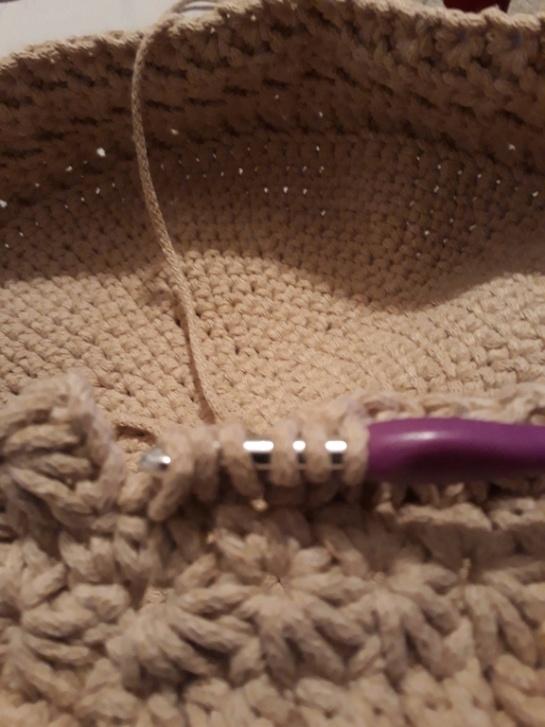
- the arrows and coloured pins mark where to insert the hook
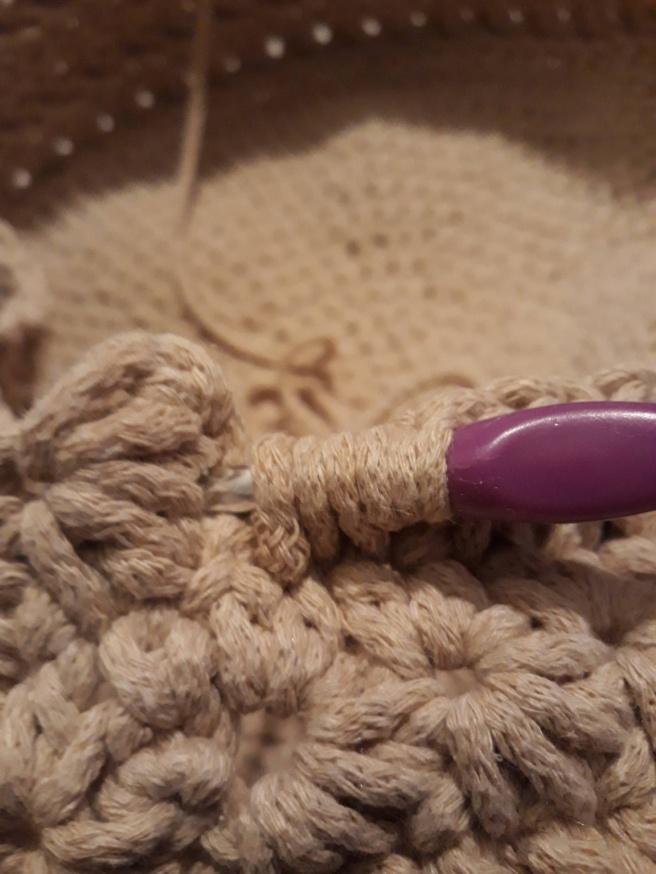
At the end of the round, join in one place with the chain from the start of the round so that a large hole does not form: pull the yarn through all the loops on the hook and join the start and end of the round with a sl st.
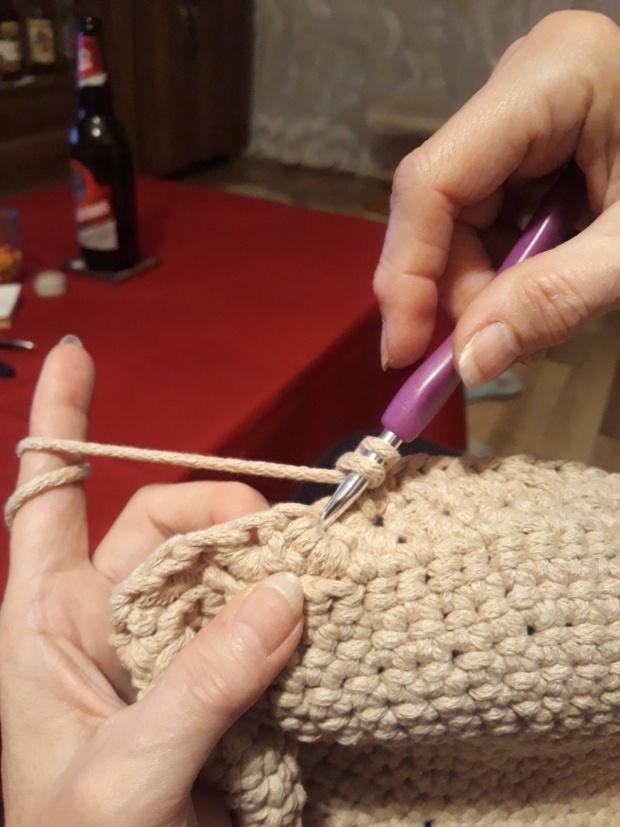
We start the second round of the pattern. These are hdc (half double crochet) stitches, always two into the place where we joined all the strands in the previous round; there is a larger loop there, marked with coloured pins in the next photo.
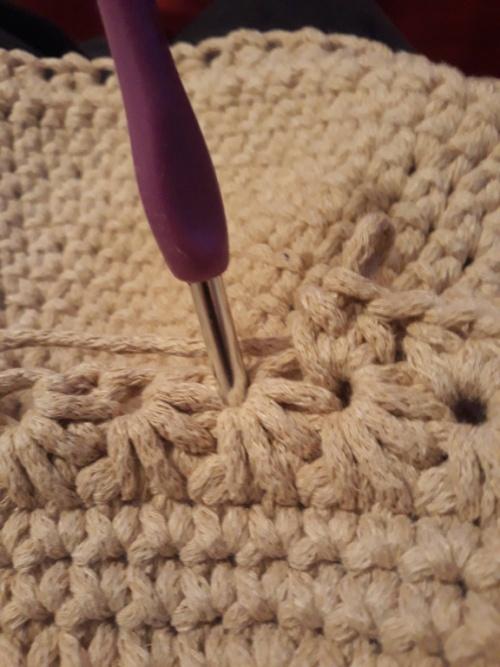

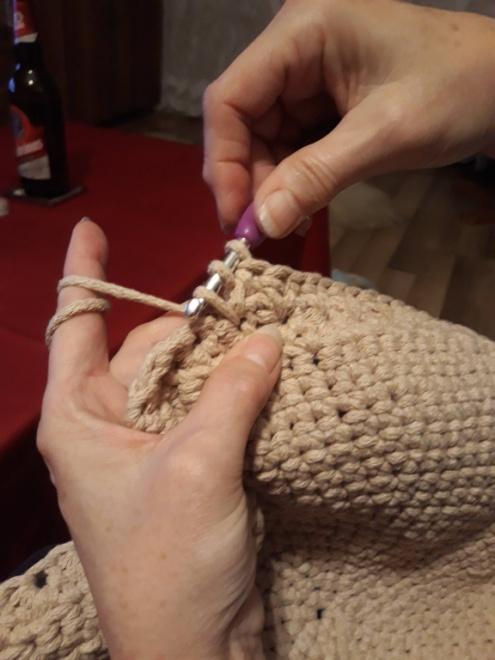

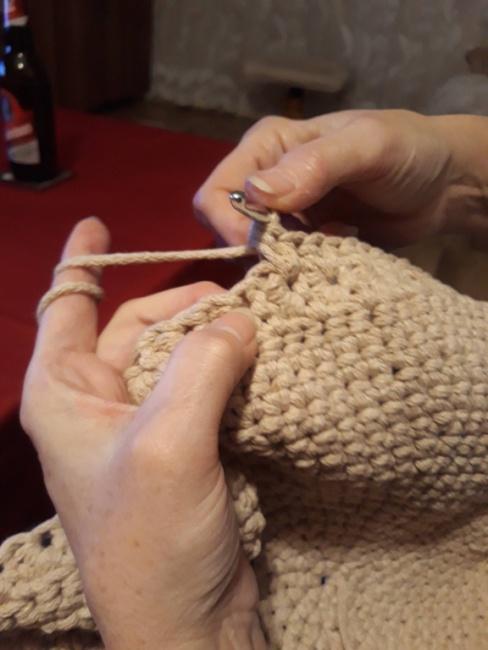
Repeat these two rounds up to the required height. I repeated the pattern 8 times.
Then you start making the underside of the pouf.
3) BOTTOM
In the first round above the pattern, crochet a round of sc; in the following rounds you will decrease stitches in the same way you increased in the first circle, so that both circles are the same. You decrease by crocheting 2 sc together. I crocheted 7 rounds, the pouf started to close and I finished the work on the pouf.
Now you start crocheting a classic circle in the same way as at the beginning of the work. You make this circle so that both bases of the pouf have the same number of rounds.
In the first circle I had 17 rounds; in the second I have 7 rounds on the pouf, so the separate circle will have 10 rounds.
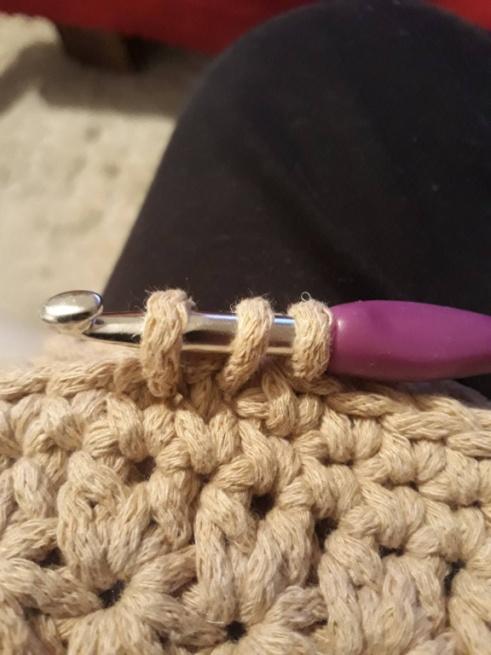

- decreasing by crocheting 2 sc together

- finishing the work on the pouf

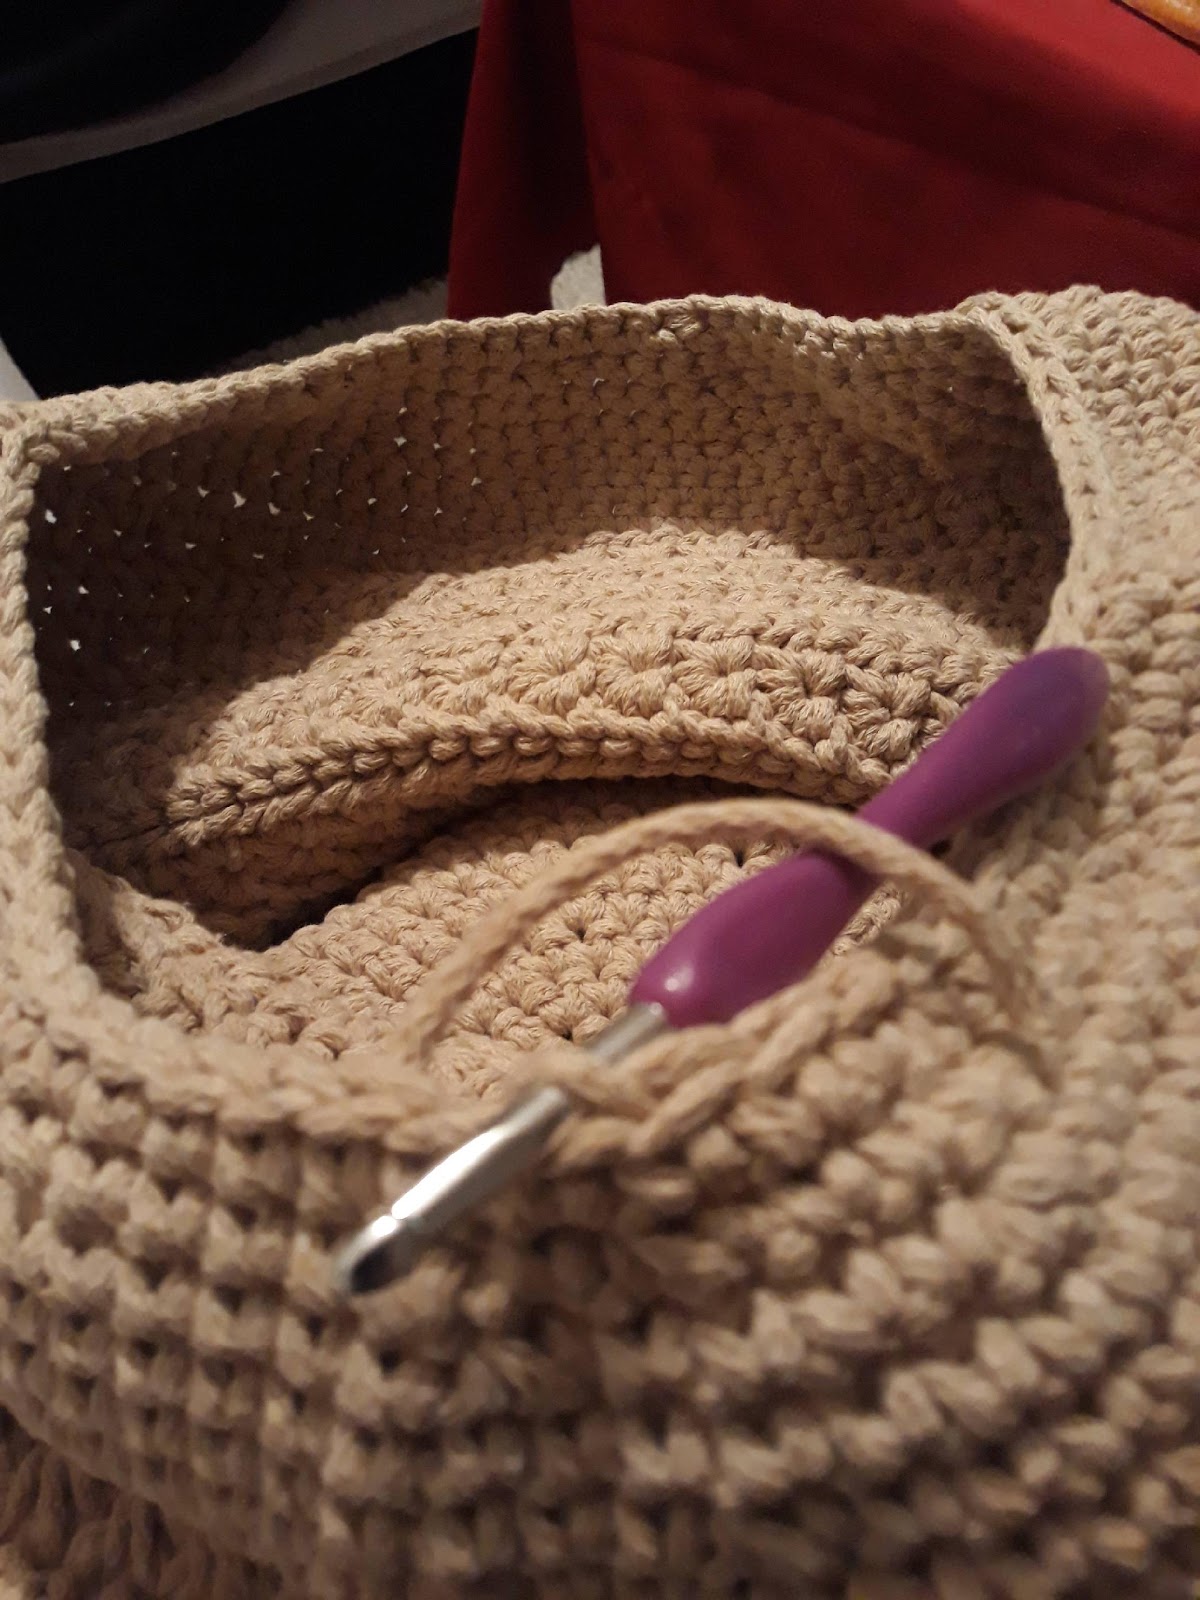

Neatly tidy up the work.
4) BAG
Now we need to prepare the bag for the pouf. You can use an old pillowcase or sew the bag yourself. You can also buy ready-made bags, so you will not have the work of filling it with EPS beads.
I am a brave girl, and because everything should be tried, I decided to sew the bag myself. It has to be bigger than the pouf. I bought a fleece blanket, cut out two circles and a strip for the sides, sewed them together and sewed in a zip. Then I could start filling the bag, which was something: beads were everywhere, but in the end it worked. Do not fill the bag completely, it would be hard to put into the pouf; you top it up afterwards. And now all that is left is to crochet on the bottom.
5) ASSEMBLY


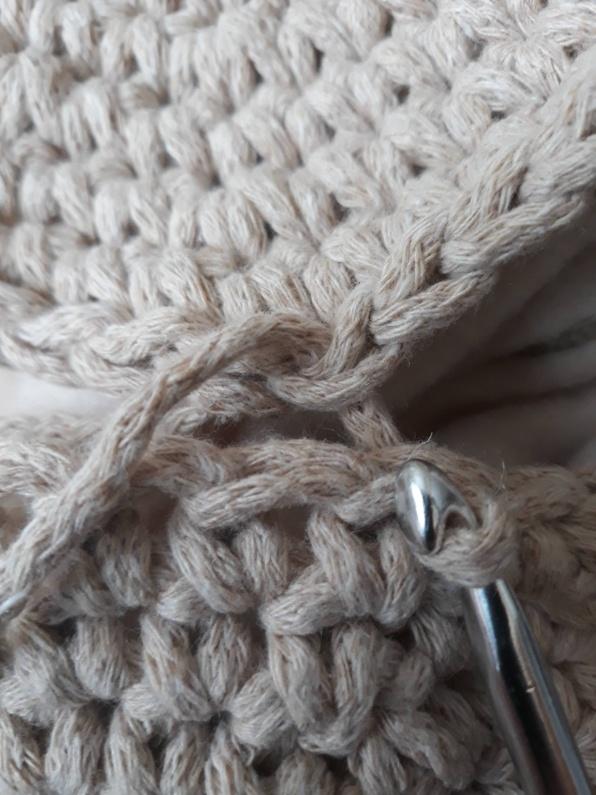
Insert the hook from above through the lid and at the same time from inside the pouf, pull the yarn through and make a sl st, and continue all the way around. And because you made the circles the same, the stitches to join should match; to be safe, count the stitches on the pouf and on the separate circle. For easier work you can attach the circle in a few places so it is easier to join. I had the same number of stitches, so I simply joined stitch by stitch.


- the underside of the pouf: fasten off and tidy up.
The finished pouf measures 50 x 40 cm.
And we are done, so what do you think?

Photo tutorial for Tvorboshop.cz written by Jaroslava Němečková