
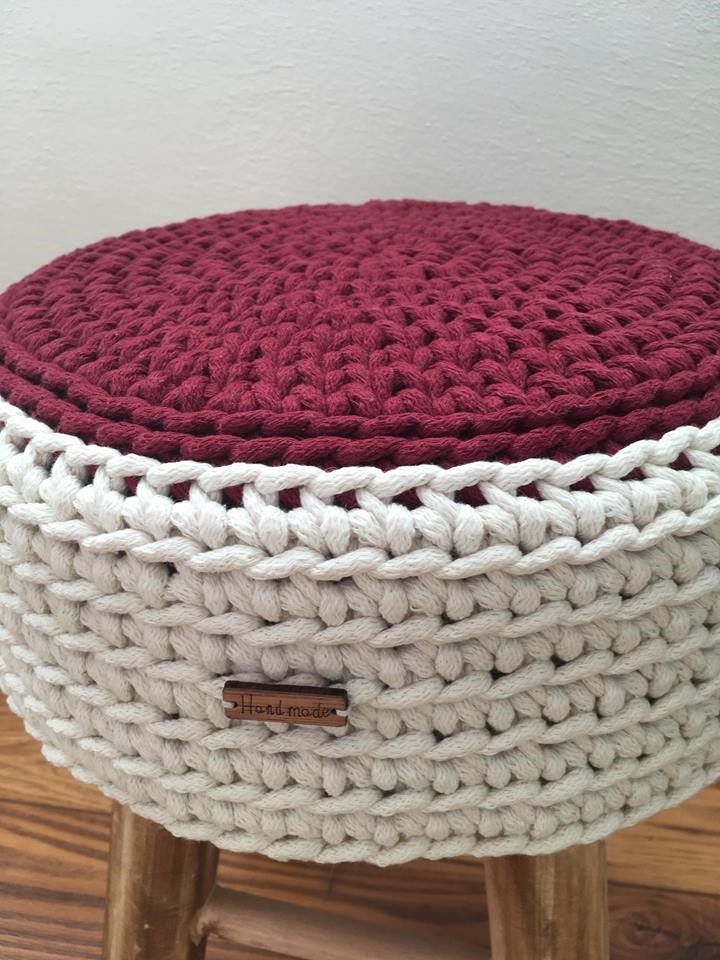
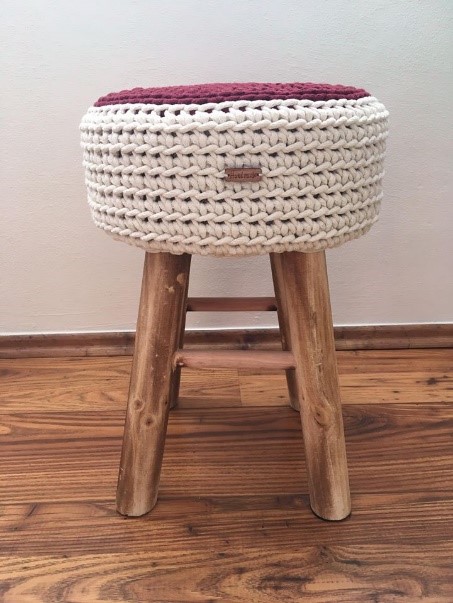
Making a stool cover like this is really easy, and you will not need many things.
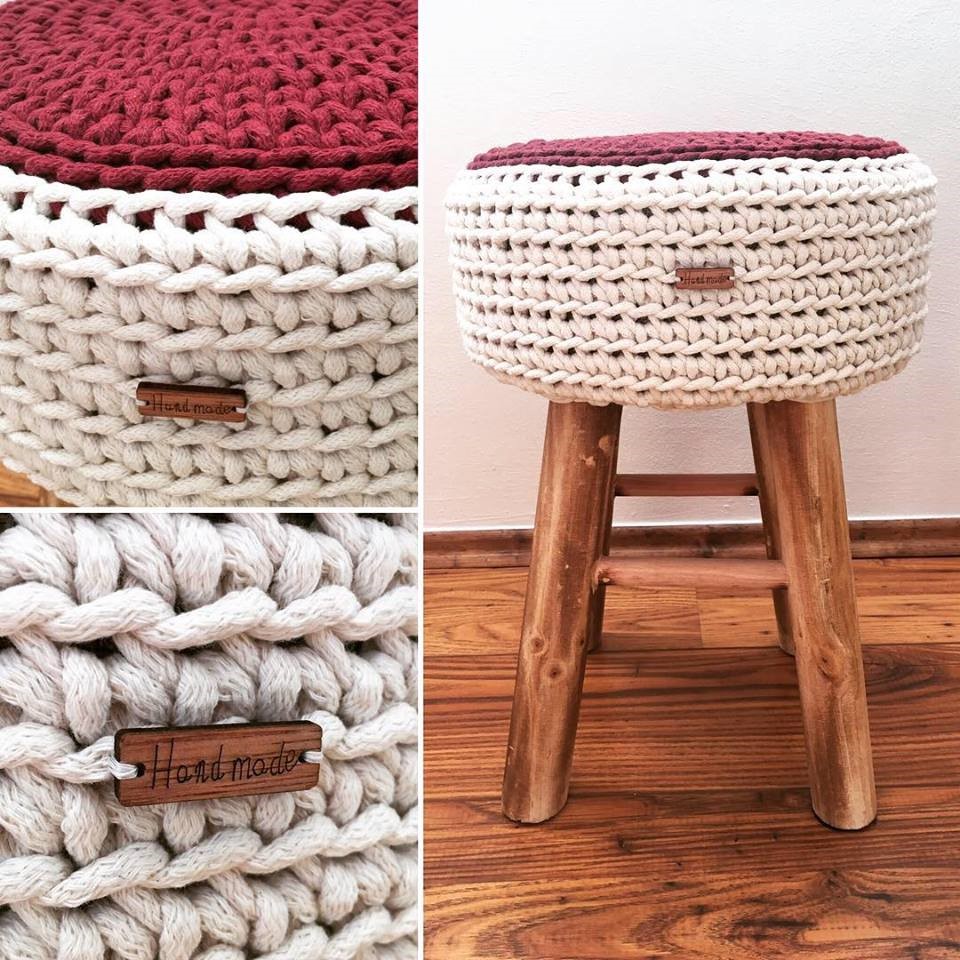
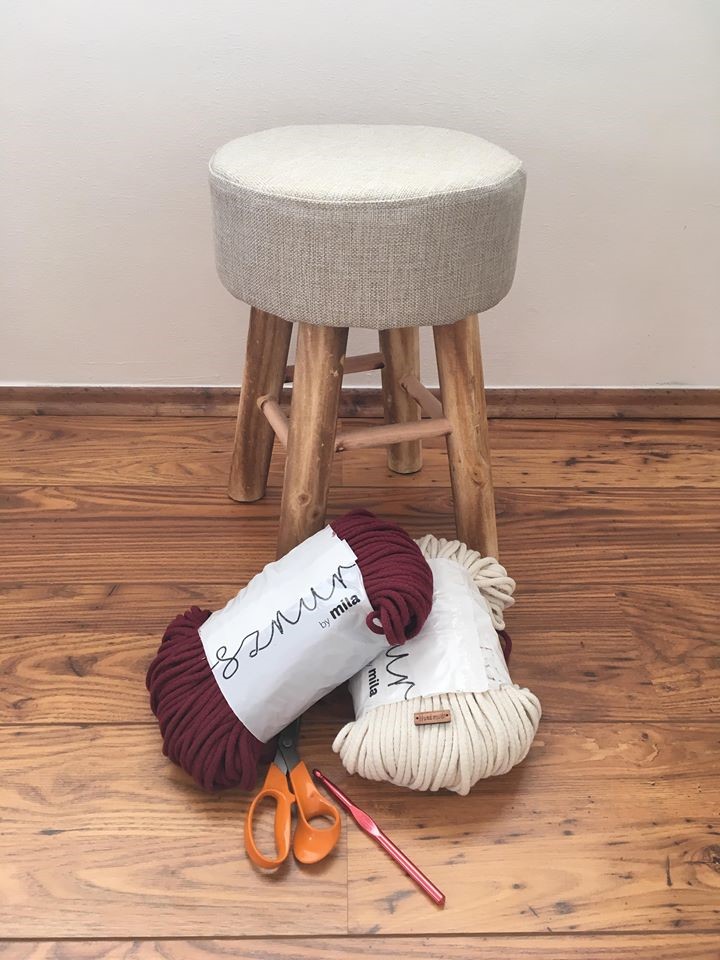
Supplies:
Berry cord 5 mm (two skeins)
8 mm crochet hook, a large needle, scissors
Abbreviations used (US terms):
sc – single crochet
sl st – slip stitch
ch – chain

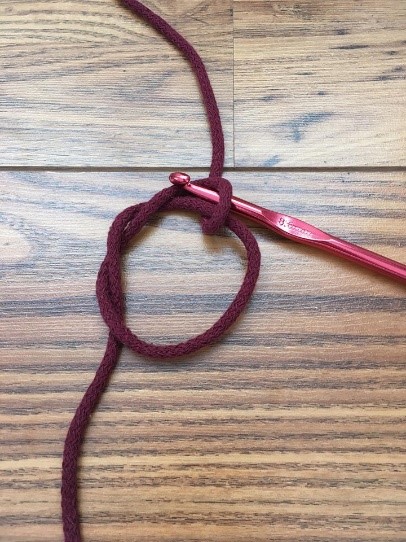
1. Work 8 sc into a magic ring and close the round with a sl st.
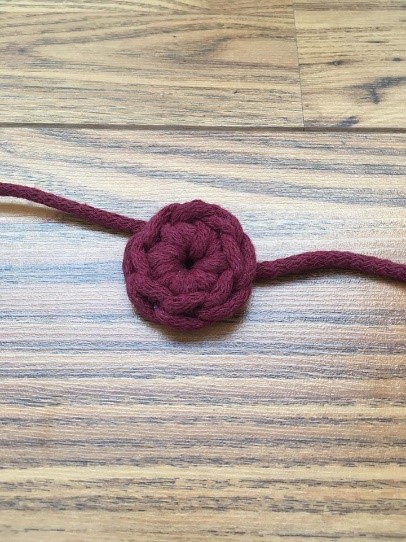
We start every new round with a ch and then crochet according to the instructions.
2. We crochet in the "knit stitch" style, meaning we do not crochet into the stitch itself but into the centre between two stitches.
Into every centre (between stitches) work two sc, and finish the round with a sl st
16 sc – pattern (2,2,2,2,2,2,2,2)
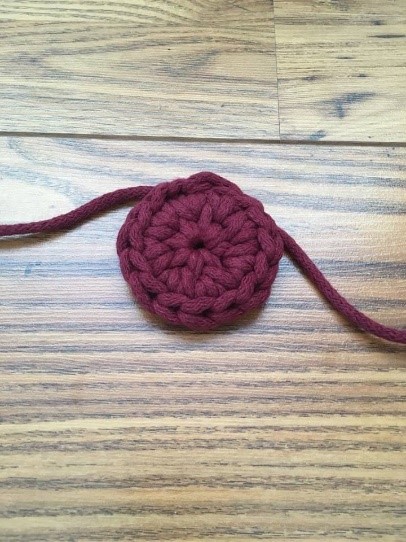
3. Crochet the next round as follows: into the first stitch (centre) of the previous
round work 2 sc, into the next centre 1 sc, and continue like this until
the whole round is done, then finish with a sl st
24 sc – pattern (2,1,2,1,2,1,2,1,2,1,2,1,2,1,2,1)
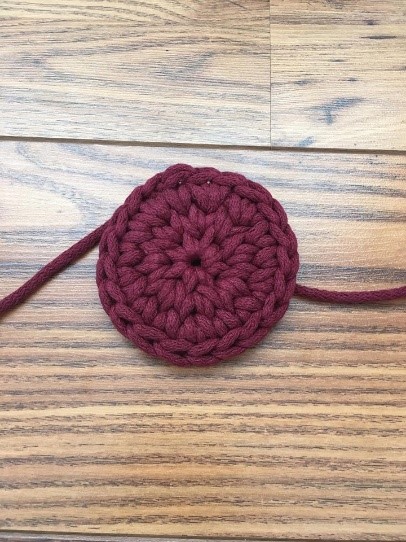
4. Crochet the next round by working 2 sc into the centre of the first
stitch of the previous round, then one sc into each of the next two stitches,
and then again 2 sc into one stitch; work the whole round like this
and finish with a sl st
30 sc – pattern (2,1,1,2,1,1,2,1,1,………)
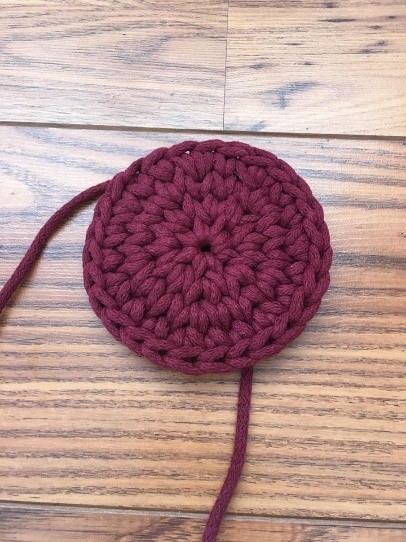
5. In the other rounds we always start with 2 sc into the first
stitch of the previous round, and then always add one more sc between the next 2 sc;
it looks like this
pattern ( 2,1,1,1,2,1,1,1,…..)
(2,1,1,1,1,2,1,1,1,1,2….) and so on.
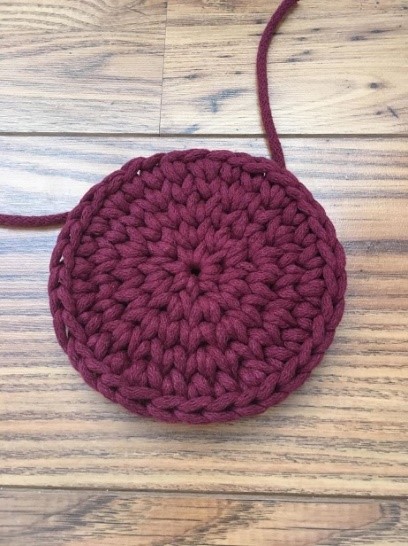
We continue increasing in the same way until the disc is as big as the seat of the stool, or crochet the disc a little smaller and make a decorative edge.
6. We make the decorative edge by crocheting sl st all around the disc
through the back loop (insert the hook into the stitch behind the back thread, pick up the cord,
pull it through the stitch and straight through the loop on
the hook); work two rounds, or three rounds if the seat will be one colour.
For the edging we do not chain at the start; we crochet sl st straight away
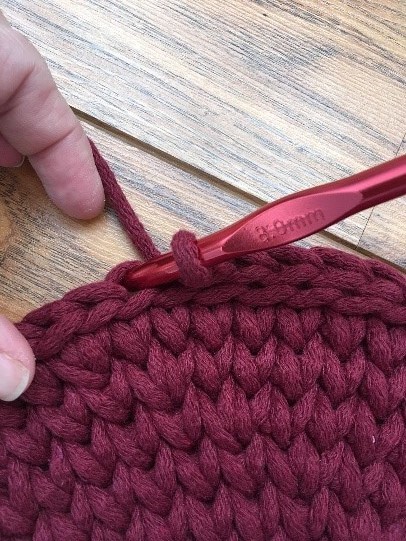
7. If we are crocheting in two colours and have two rounds of the decorative edging done, we now change colour. Take a ball of another colour and join the new colour. Pull the cord to the right side with the hook and crochet one more round of sl st through the back thread. Finish the round with a sl st again.
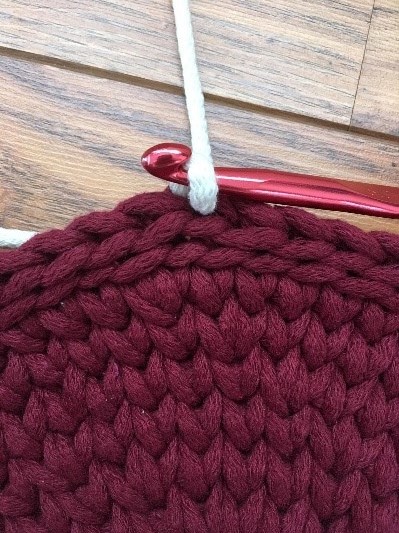
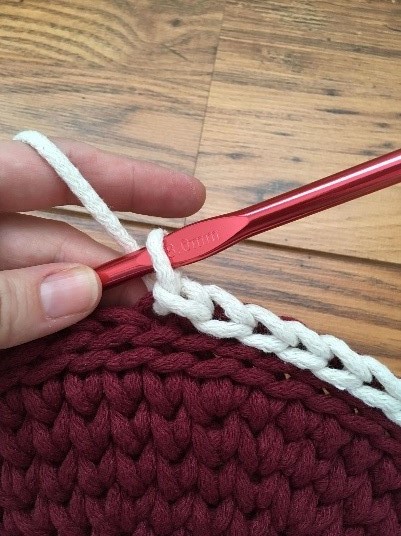
8. The next round creates the side of the seat. We again crochet through the back thread, this time normal single crochet, one sc into each stitch. Again finish with a sl st.
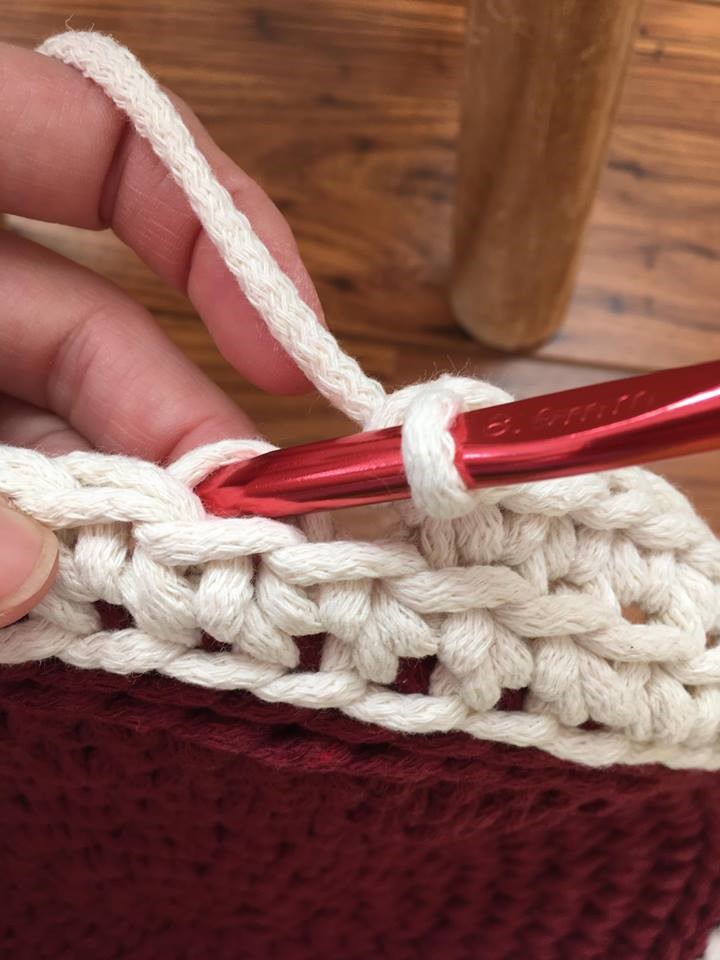
9. Crochet the next rounds through the back thread in single crochet, finishing each round
with a sl st. Work 6-7 rounds, depending on how tightly you crochet;
it is good to test the fit against the seat.
10. In the next step we tidy up and finish the work. Using the large needle, run all the cords that are left over, for example from joining colours, through several stitches on the wrong side so they do not come undone later.
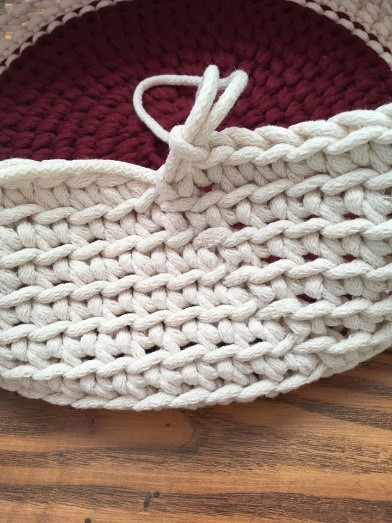

11. We crochet the last round by always crocheting two stitches together into one. This reduces the circumference so the cover fits the seat nicely and nothing sticks out. That means you pick up one stitch and straight away the next one, so you have three loops on the hook (pic. A), pick up the cord on the hook as for a sc and pull through all three loops (pic. B). That turns two stitches into one.
Crochet like this to half of the circumference, pull the cover onto the stool and finish crocheting on the stool. (pic. C)
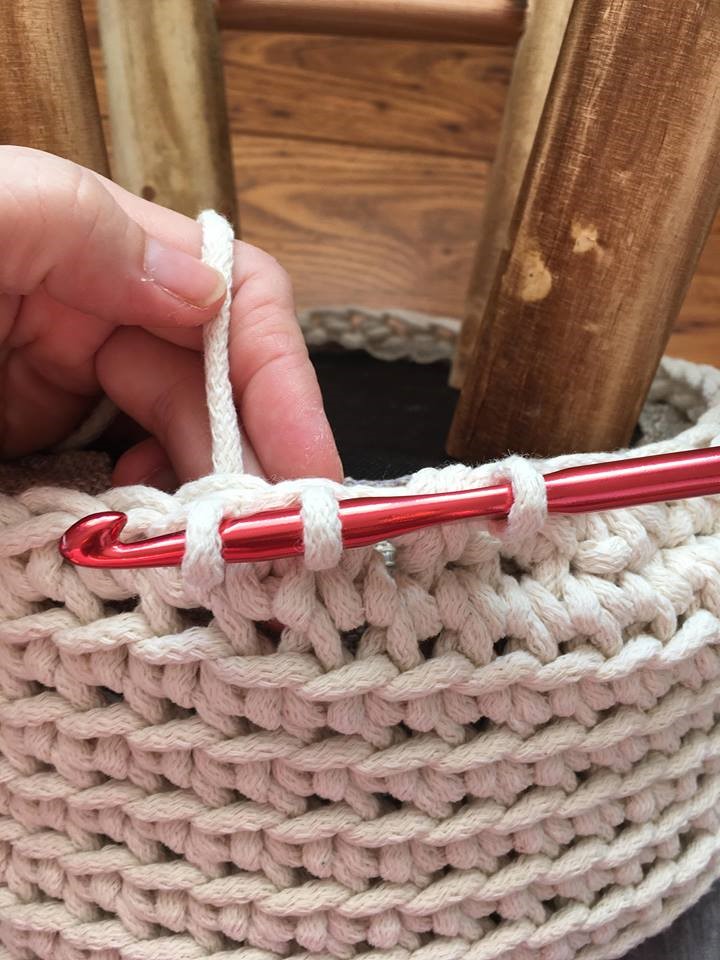
A
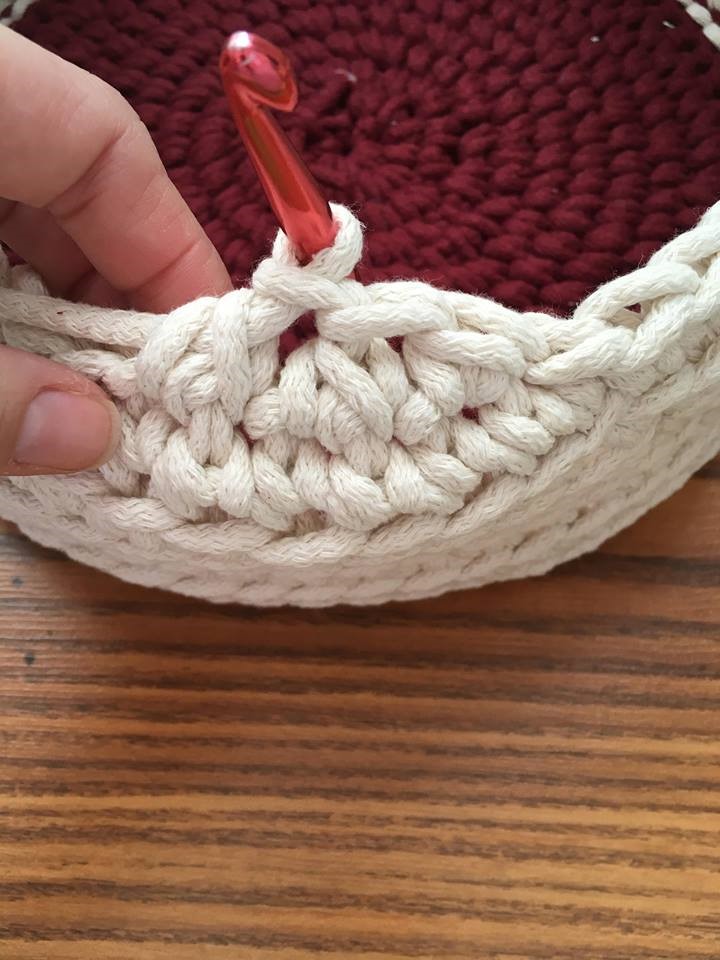
B
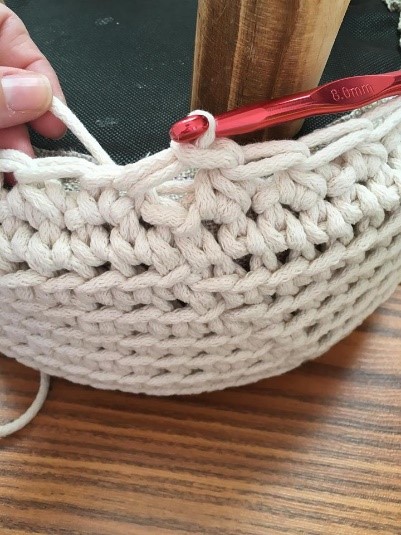
C
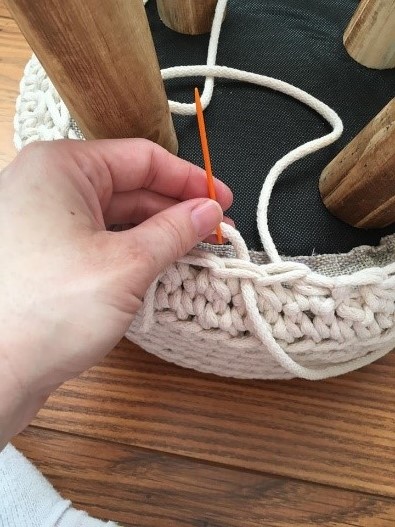
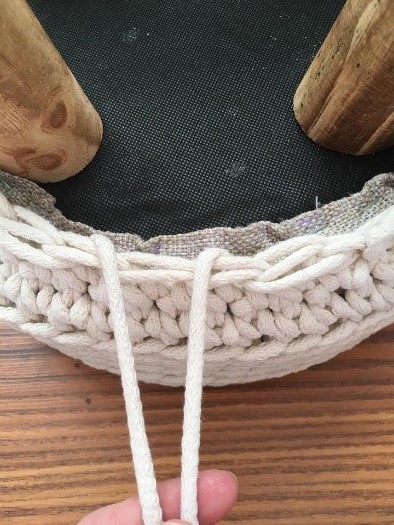
12. The last step is finishing the underside. Cut a piece of cord, thread it through every second stitch, pull it tight and tie it. Tuck the loop under the cover so you can take it off and wash it at any time.
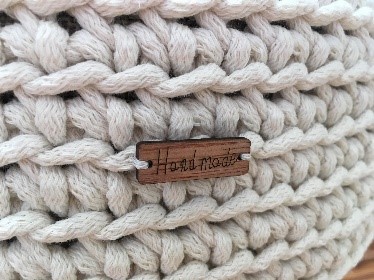
13. Sew on the Hand Made label and you are done.

Tutorial prepared for you by Eva Hlavinková - Originál E-